Hi everyone!
Today I'm presenting you another component of my Project: the content plug-in.
First of all, I want to thank Andrey, My mentor, who helped me sort out the difficulties i encountered over the summer. I have learned a lot from him , and I believe this learning relationship is one of the most important aspects of the Summer of Code Program. Thank you Andrey!
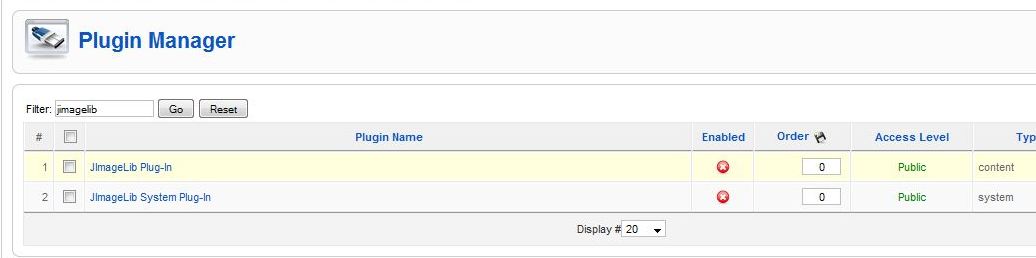
So, in order to make the plug-in work, you should first download and install it. You can find the files here : http://joomlacode.org/gf/project/gsoc09downloads/frs/ . JImageLib is the package. You should install the latest version of the JImageLib Library first.(you can find instructions to do this at https://community.joomla.org/blogs/community/969-jimagelib-available-for-testing.html).
After that, you should install the two plug-ins: system and content, using the Extension Manager and, of course, enable them.
The Plug-in interprets {image} tags. This means you simply add some tags into the article editor, and the plug-in converts it to the specified image.
For example :
{image 'images/joomla.jpg' width 300 sepia wm-file 'images/cancel_f2.png' wm-position center popup greybox }
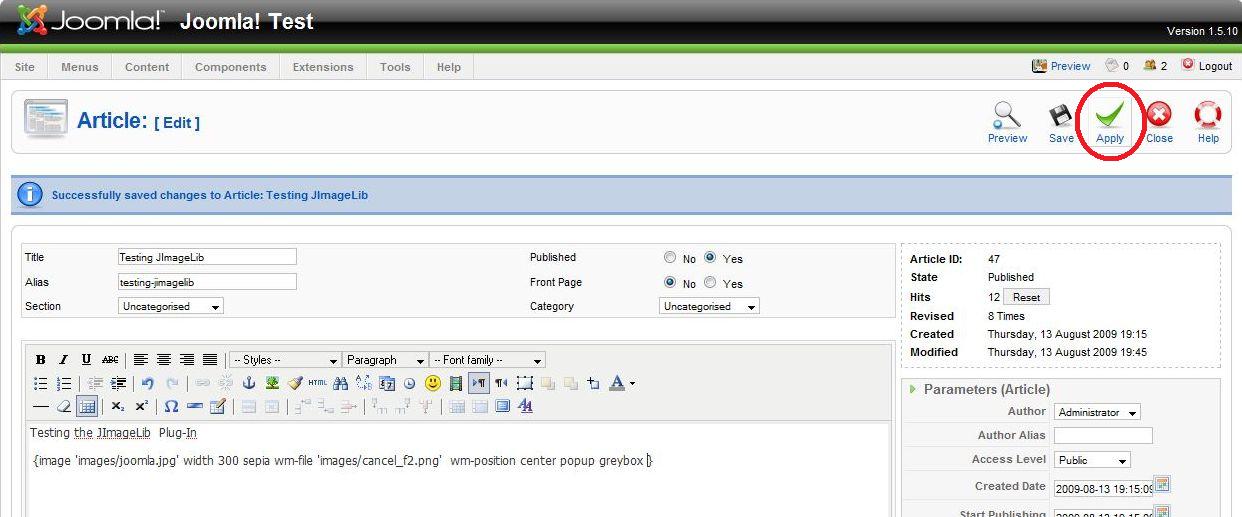
Just press Apply, and then :

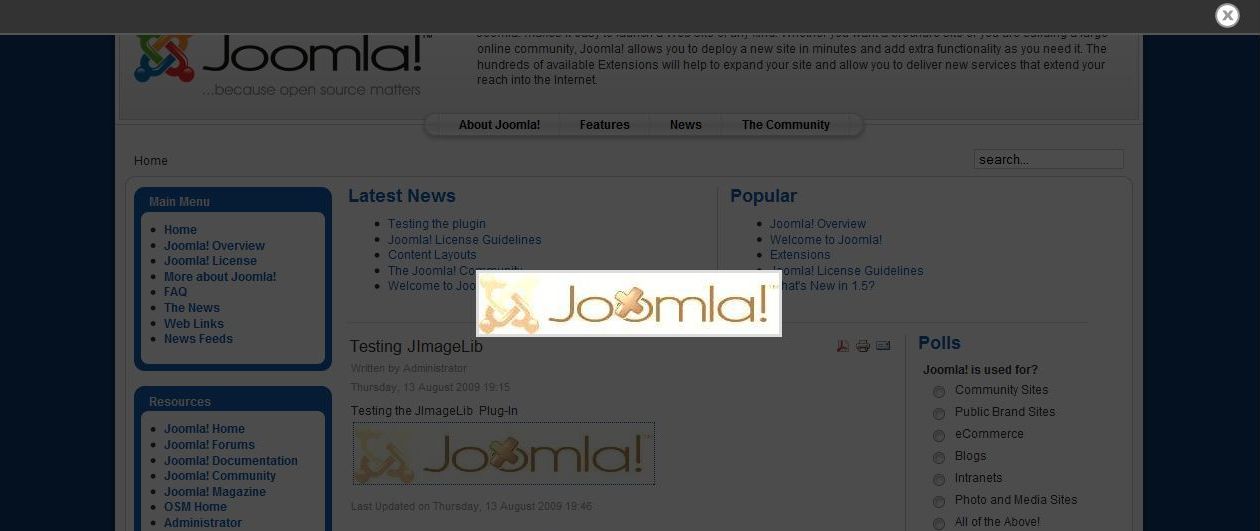
The image is included into the content, with the specified modifications (sepia filter, watermark).
On frontpage, the thumbnail is linked to the original sized image and when is clicked, the picture is shown in a modal pop-up.
{image} tag supports the following attributes:
- width, height
- imageLib
- resize, flip, rotate
- crop with top and left margins
- brightness, contrast, smoothness, colorize
- effects: grayscale, sepia, negative, blur, invert, edgedetect, meanremoval,
- emboss, dropshadow
- wm-file, wm-position
- popup
I'm looking forward to receiving your comments!
Thanks,
Daniel